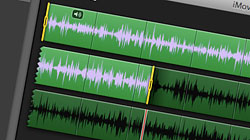
iMovie ’08 threw long-time users of iMovie’s previous versions for a loop, making it difficult to figure out how to work with audio in the redesigned video editing app.
At first glance, it may seem like a ton of features were dropped from iMovie when working with the iLife ’08 media suite. While this is certainly true for some things, other features such as extracting audio from video clips and controlling audio fade lengths are still there — though not in the most obvious places. Here I will go over how to regain this functionality and work with audio more easily in iMovie ’08.
Fading Audio Clips
Since the new version of iMovie has done away with the audio rubber band controls, you can no longer use this method to define how long to fade in or fade out audio tracks. Fade durations are instead set using the Audio Adjustments window, which can be accessed using the button shown in the screenshot below (between Cropping and Video Adjustments). Make sure you have selected the audio or video track you would like to work with first.
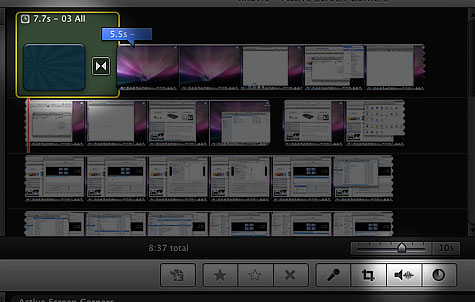
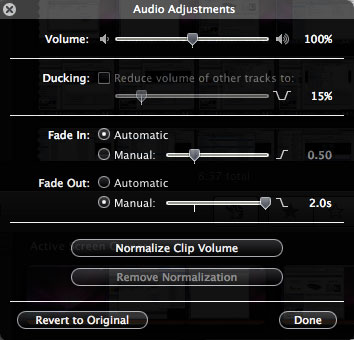
Once you have done this, the Audio Adjustments window will be displayed, which provides options like volume levels and ducking. You will also find the Fade In and Fade Out settings, where you can leave the automatically assigned duration or specify your own (up to 2.0 seconds). And that’s all there is to it — no more abrupt starts or endings on your audio tracks. Be aware any changes you make here will only apply to the clip you selected.
Extracting Audio Clips
Sometimes you need to work with a video clip with an audio track that needs to be separated from the video clip itself. This is especially useful for cutting to supporting video clips while the audio of the main sequence continues to play over them. Recreating iMovie HD’s extract audio command is a bit difficult to figure out without knowing exactly what you’re doing beforehand, but is pretty easy once you understand how it works.
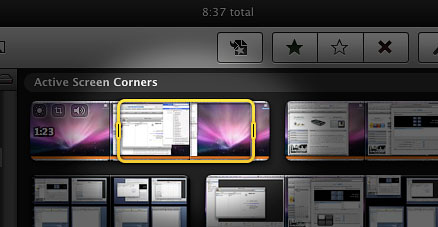
To start off, in the events browser, select the video clip you want to add to your project. It will be wrapped in a yellow container, which you can drag to the project area. When you do this, your selection container will turn gray in the events browser. Press Cmd + Shift on your keyboard and drag the same selection the beginning of the video clip you just added to your project. Note that the keys must stay pressed until you have let go of your mouse.
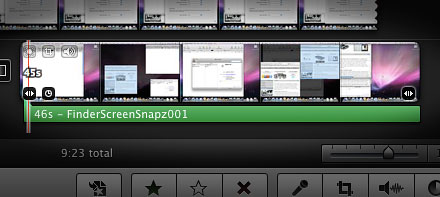
You should see a green strip below your video, which represents your audio track and signifies that it has been successfully separated. Click the video clip and go to the Audio Adjustments window to bring it’s volume down to 0 so only the extracted track will be audible. You can now continue working with your project as your normally would. I should also make it clear that you don’t need to drag the video clip to your project area first if all you want in your project is the audio. Simply dragging your events browser selection with Cmd + Shift pressed will copy the audio over to any portion of your project, not just the video it originated from.


